Hamsters are a tidy bunch. They absolutely hate mixing their living quarters with their restroom and their dining area. For these little creatures, there is a place for everything. Unfortunately, since they live in a rather small, cramped ‘house’, it is inadvertent that the stink from their urine and droppings will fill the rest of their cage. And we have yet to see a hamster cleaning up its own house. You really have to give the little fellow a helping hand. Here’s how to clean a hamster cage.
Give the cage a thorough inspection.
The very first thing you need to perform is to inspect the hammy cage thoroughly. Try to smell where the smell is coming from. If the stink is confined to a single spot, it may not really be necessary to perform a thorough cleaning. You can easily remove this soiled spot and replace it with fresh bedding materials. Also try to look for droppings or wetness in the bedding as a means of verifying the stink. If there is leftover food, make sure to discard these. Also, try to check the walls if it’s full of smudges or is already very dirty. As a rule of thumb, if your nose is already irritated by the stink coming from your hammy’s home, it really is a sign that you have to clean it whole. Remember, your pet’s sense of smell is highly acute and it can really fall ill if its cage is not cleaned thoroughly.
Prepare the materials.
Once you’ve ascertained that the cage needs a really good cleanup, it’s time to gather your cleaning materials. If the stink is simply too much, you might want to include a suitable face mask as well as rubber gloves. You will also need a wash cloth, an appropriate disinfectant that will not harm your pet, and replacement bedding materials.
Relocate your hamster.
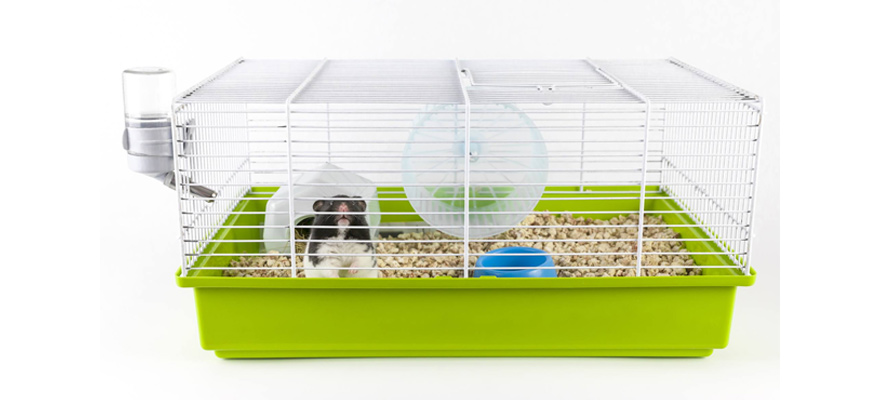
Before you start cleaning, get a secondary cage or any safe enclosure to temporarily relocate your hamster. You don’t want it present inside the cage while you’re giving the enclosure a thorough cleaning. Gently scoop up the little fellow from its cage and slowly put it down inside the temporary shelter. Make sure to wash your hands thoroughly before and after relocating your pet.
 Remove all attachments, accessories, and extras.
Next is for you to remove all the attachments, extras, and accessories like feeding bowls, water bottles, hideouts, tunnels, pathways, exercise wheels, and anything and everything inside the cage. This makes cleaning a lot easier. Plus, you also get to clean these items individually.
Related Post: Hamster Accessories
Discard the bedding.
Make sure you have your gloves and your face mask on before you start removing the bedding, especially if it has been substantially soiled. If not, you can always opt not to wear the mask. Be careful when removing the bedding. Immediately transfer the soiled bedding in a waste bag and seal it to keep the stink from getting out and filling your room with it.
Clean the hammy cage.
Now comes the really tedious part. Always start cleaning the extras and accessories first. This allows them to dry completely before they are eventually returned to the cage. You can soak these items in a cleaning solution as a means of disinfecting them. Make sure to thoroughly clean each item using the wash cloth that has been soaked with the cleaning solution. Use small brushes to clean hard-to-reach areas. Once thoroughly cleaned, let these dry under the sun, then proceed with cleaning the cage.
Cleaning the hammy cage should not be difficult. The important thing to remember is to never leave any area unclean. If your hamster cage is small enough to fit a large basin, you can soak it in a cleaning solution, let it sit for a while, and start brushing every square inch of its surface. For wire cages, it is imperative to clean individual bars. It may be tedious but it’s the only way. Once thoroughly cleaned, you can let it dry under the sun as well. The UV rays also help in disinfecting your cage.
 Put back everything.
Make sure to completely dry everything before you start assembling them back. Put an ample layer of bedding, preferably at least 2 inches deep. Replace all the accessories and extras in their original positions.
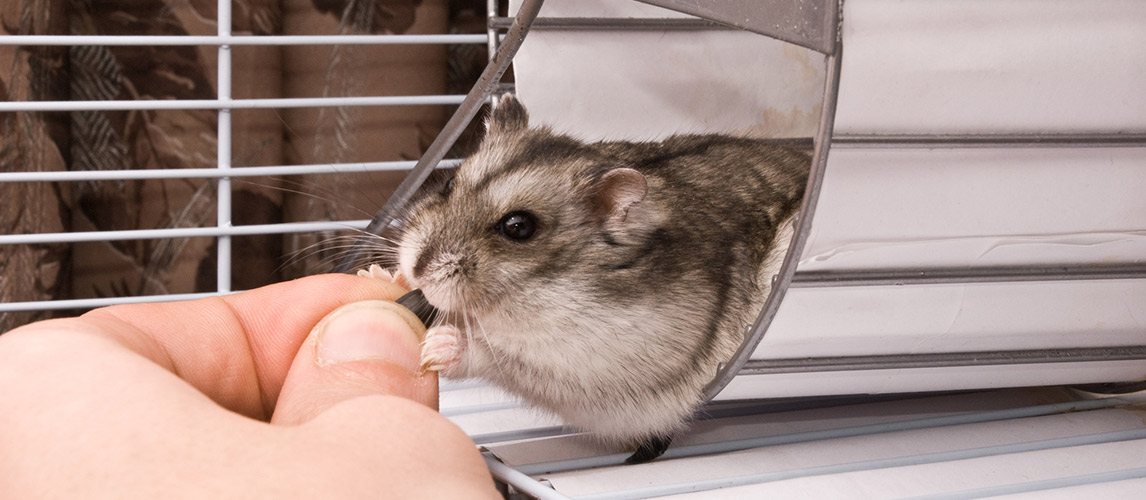
The last part of cleaning your hamster cage is returning your pet to its newly-cleaned home. Make sure to give it some time to adjust to the new ‘smell’ before you start interacting with it. Easy, right? Be fully prepared with our guide to the best hamster cages.
Sources:
- Hamster Сare, Animal Humane Society
- Geoff Williams, Hamster Care 101: How to Care For Your Hamster, PetMD
- Is A Hamster The Right Pet For You?, The Humane Society

