
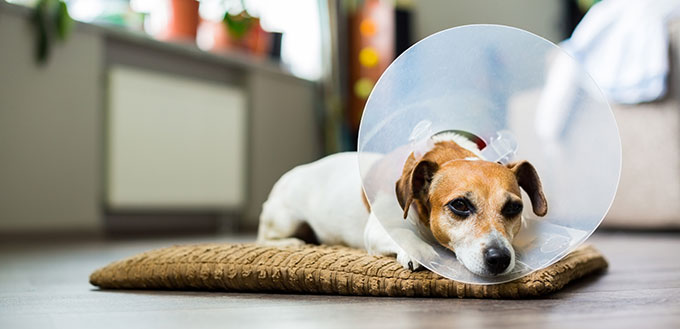
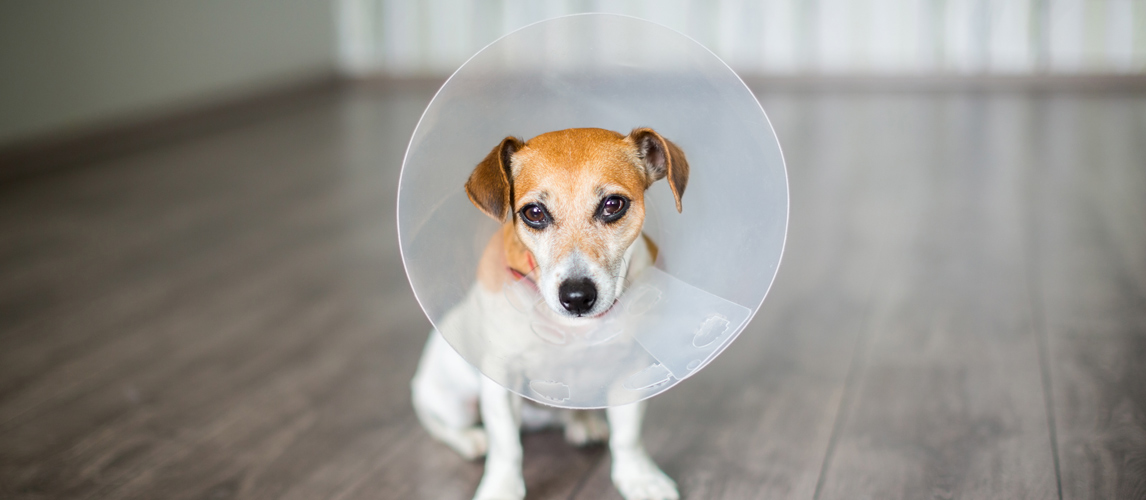
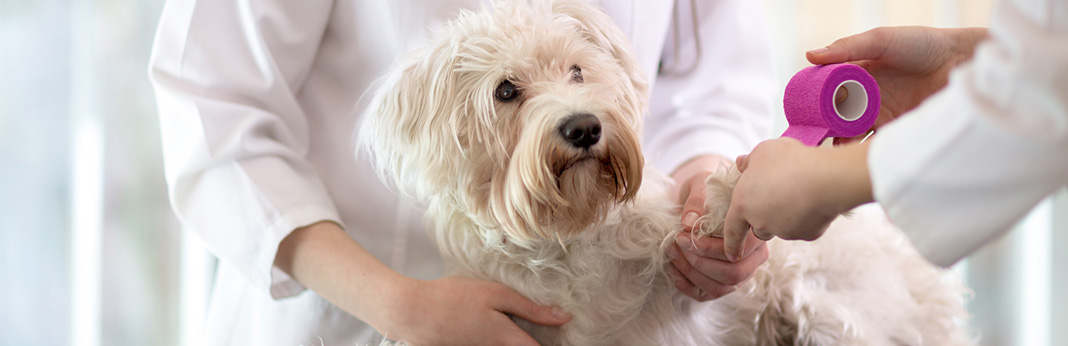
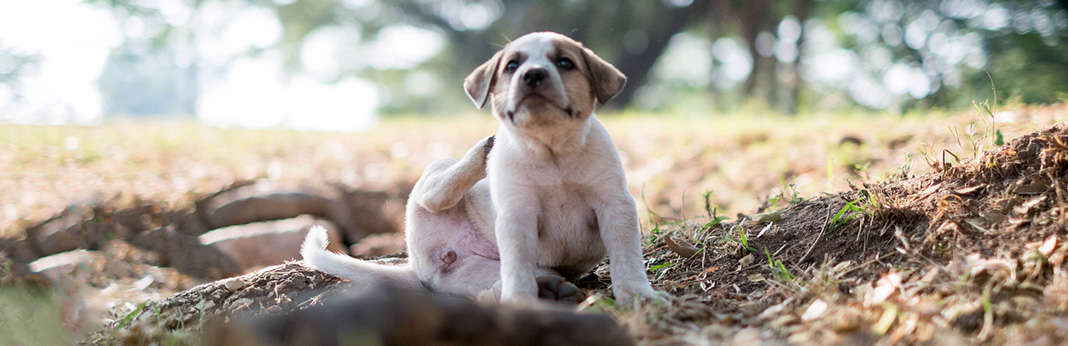
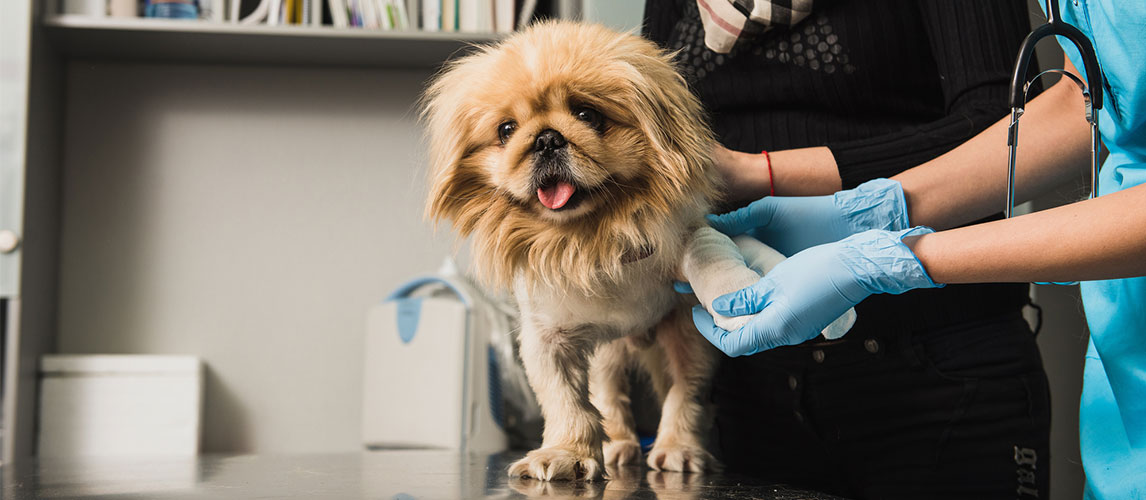
If your pup has recently had an operation or is dealing with itchy skin or a hot spot, you might want to think about getting them a protective dog collar. Dogs, by nature, will continue to lick their wounds in an attempt to clean them. In many cases, this can lead to further infection and prolong the healing time.
Protective dog collars have been jokingly dubbed the ‘cone of shame’ and in more sophisticated circles might be called the Elizabethan collar. They aren’t precisely your pup’s idea of fun, nonetheless, a slightly funny looking cone can save your dog from infection and enable their wounds to heal faster. If you don’t want to spend lots of money purchasing a cone or want something a little softer than the stock-standard plastic variety, you might want to make your own dog collar. This process can be a fun project for the family and means you can create a model that fits your pooch’s unique size and needs.
A Note on Safety
Since collars can be a choking hazard and catch on things, you will want to ensure that your pup is always supervised when wearing their collar. If you feel worried about making your own pick, chat to your vet and ask them to rather give you a vet-approved pick. Collars should never be too tight as this can cause breathing problems and even choking. You should thus always be able to place a few fingers in-between the collar and your pup’s neck.
The Pool Noodle Collar
This is one of our favorite picks when it comes to DIY dog collars. It is super easy and cheap to make and is a really comfortable pick for your pup. Unlike certain plastic models, this offers cushion-type protection and will be a lot more snuggly. It is also breathable thank to its pourous material and thus will enable their skin to breathe.
What You Will Need
- A pool noodle in a color of your choice
- Rope of sorts (you could also use thick twine or a long collar)
- A tape measure
- Scissors/knife
What You Have to Do
- Measure your pup’s neck circumference with your tape measure and then add an extra six inches to this measurement. Cut your rope or twine to this length.
- Start cutting your pool noddle – the smaller the pup, the thinner your noodle will need to be. A medium-sized pup should have cylindrical pool noodle beads that are around 1.5 inches in width. Smaller dogs will need thinner noodle parts.
- String the thin parts of the noodle onto the string. This process is much like stringing beads onto a necklace. Then check that it fits around your pup’s neck.
- Tie the rope or twine securely and cut off any excess parts of the string. Much like a collar, ensure you can comfortably slip two fingers under the rope – you don’t want it to be too tight.
- Ensure your pup is comfortable and always keep an eye on them when wearing a protective collar to ensure they are comfortable.
The Cardboard Cone
This one is a great pick in case of an emergency and can be created with an old cardboard box or any piece of cardboard you have lying around.
What You Will Need
- Cardboard
- Duct tape
What You Have to Do
Measure your pup’s neck (or use their collar as a guide) and cut out a rainbow shape. The middle part of the rainbow will be the width of your pup’s collar. The width of the rainbow should be the measurement from your pup’s ears to the bridge of their nose.
Once you’ve cut out the rainbow shape, secure the two ends together with tape. You can add some individual loops to the top and slot their usual collar into the cardboard cone. This makes it far easier to put it on them when the time comes. You simply put their collar on (that’s looped through the cardboard rainbow) and attach it around their neck, once again ensuring that it isn’t too tight.
Ensure that their nose can just pop out the Elizabethan collar so that they can easily eat and drink.
Towel Cone
This next option is a simple pick and can be easily created with an old towel. Choose a towel that you can comfortably fold into thirds, and that will easily fit around your pup’s neck (not too tightly though!)
What You Will Need
- 1 x towel
- Duct tape
Related Post: Dog Drying Towels
What You Have to Do
Simply wrap the towel around their neck, but ensure it isn’t too tight. For larger pups, you should be able to fit your hand in-between the towel and their neck and for smaller pups at least 2 or 3 fingers.
Once secure use some duct tape to keep everything in place. You might want to pop some along the edges to ensure it’s secure, but again, make sure it isn’t too tight.
The Comfort/Aeroplane Pillow
This one is a super easy pick and simply requires an aeroplane or comfort pillow. They can easily hold your pup’s head in place and will keep them comfortable when lying down. This is a great option for night-time and will enable them to have a comfortable and secure night’s sleep.
If you have a bigger pup, you might also be able to do this while they are up and about as the pillow should sit comfortably around their neck and stay in place.
The Bucket Cone
The bucket cone is true to its name and is simply a cone that is made from a bucket. This pick can made with things you already have at home, however, might prove a little more difficult than some of the other choices with regards to cutting the bucket. If you don’t feel confident in cutting through plastic, opt for the cardboard model, or the towel model.
What You Will Need
- 1 x bucket (softer plastic that can be easily cut is best)
- A pen knife or sharp knife
What You Have to Do
Measure the circumference of your dog’s neck or use their collar as a guide but add an inch or two to this measurement to make space for their ears.
Cut the bottom of the bucket with a knife (a softer plastic is better, like a food container) and sand the edges to ensure there are no spikey bits that could cut your dog.

The Butter Container
An alternative to using a bucket is to use a butter container. This is usually softer and easier to cut through. Again, tape or sand the edges to ensure that they don’t cut your pooch. This pick might be better suited to smaller pooches as butter containers are usually smaller in size.
What You Will Need
- 1 x butter container
- 1 x pen knife or sharp knife
What You Have to Do
Much like the bucket collar, you will need to measure your pup’s neck (use their collar as a guide) and cut a hole at the bottom of your container.
The Foam Collar
Much like the pool noodle collar (which we love!), the foam collar is another soft and easy pick that will keep your pooch comfortable while they recover. You can use foam from an old mattress, or simply buy a metre or so at the store.
What You Will Need
- A sheet of foam
- Duct tape
What You Need to Do
Measure the circumference of your dog’s neck, adding an inch or two for comfort. Cut your piece of foam accordingly and gage the width on the size of your pup (a larger width for bigger pups).
Once cut check that the foam fits comfortable around your pup’s neck and attach the ends together with duct tape. This option allows for flexibility to eat and drink and is well suited to pooches who struggle with cones. It allows them to easily see everything that’s going on but offers them comfort and security and will prevent the from licking wounds.
When You Might Opt for a Dog Cone
Dog cones are a necessity when your pup isn’t feeling their best and can prevent nasty infections and further injury. Dogs will instinctively continue to lick their wounds, and this can slow down healing time and cause them more pain. If your vet tells you that your doggy needs a cone, it is super important that they wear one for the duration of their recovery time. Most of the healing will be happening at home and it’s your responsibility to ensure that they get the best possible care. Your pooch might need a dog cone if:
- They have recently had surgery and need time to heal. This is especially the case if they have stitches that need time to settle or a wound that needs to be left alone.
- They have a skin infection or hot spot that they won’t stop licking. These need time to heal and you should consult your vet to get the appropriate medication or cream. The cone prevents your pup from licking the sore area, and from ingesting any cream that you need to put on.
What If Your Dog Refuses to Wear a Cone?
In some cases, certain dogs simply refuse to wear a cone and might become fearful, or even aggressive. If your dog is distressed by the cone, you will need to find an alternative option. This is where a surgical recovery suit might come in handy, this suit is usually made from a soft fabric and will cover your pup’s skin while they heal. While your pooch will have the freedom to move their neck’s if they want to, they won’t be able to reach the sore area directly. There are a number of available options online and these often come in an array of styles and sizes.
If you’re thinking of looking into a surgical recovery suit, it’s best to chat to your vet and to choose an option that will allow their skin to breath and ensure adequate healing.
While the cone of shame might look a little embarrassing and is certainly not your furry-friend’s idea of fun, they are imperative after surgery and if your pup has a wound. They usually only need to be kept on for a few days, but in some cases might need to be on for weeks. As a doggy owner, you want the best for your dog, and it can be hard seeing them in an uncomfortable cone. However, keep in mind that it’s essential for their healing and that it will enable them to recover properly. Soon they will be back to their old and sprightly selves and the cone will be a distant memory!