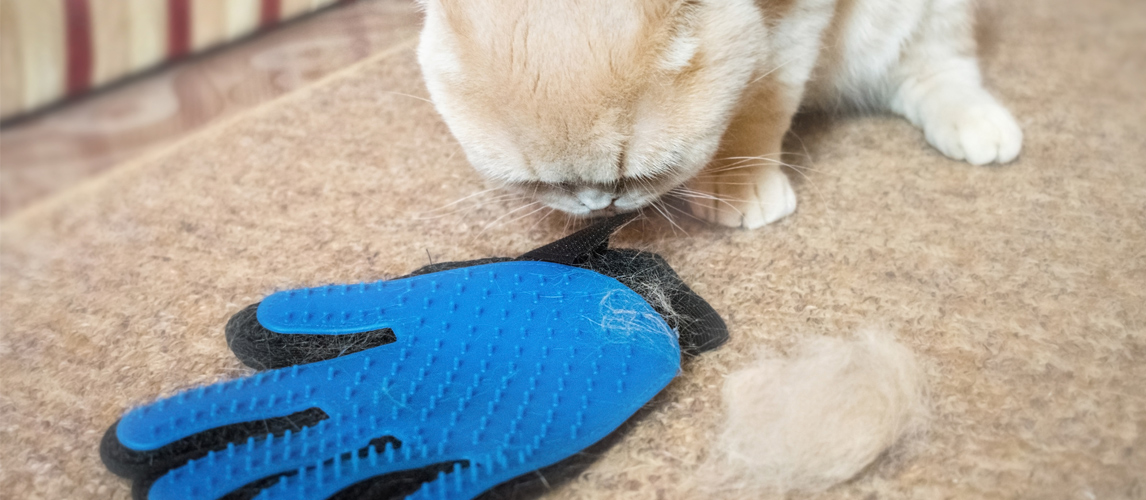
When it comes to self-sufficiency, nothing seems to beat the members of the feline kingdom. They’re virtually independent except perhaps when they need their really delicious treats or nutritious meals. Their grooming habits are unparalleled. However, even the most fastidious kitty in the world will tend to require the assistance of its pet parent especially in providing a really good, safe, and very thorough cleaning of its ears. Vets can do an excellent job of cleaning your cat’s ears. However, you can also clean your kitty’s auditory pinna if you adhere to certain principles.
Related Post: Best Cat Treats
Why Cleaning Your Kitty’s Ears Is a Good Idea
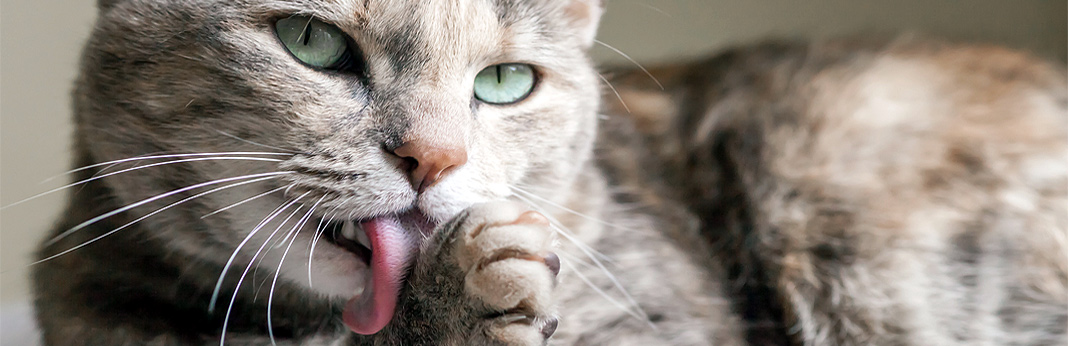
As every cat-lover knows, cats are highly-fastidious creatures. There is never a time when you don’t see them licking their fur, paws, and every other part of their bodies that they can easily reach. While it is true that their ears don’t really need the fastidious licking as it comes with a built-in mechanism which allows debris and other particles to be moved outwards into the external auditory pinna, there will always be instances when your cat needs a helping hand.
Being independent-minded, cats have this insatiable appetite for anything that can arouse their curiosity. Sadly, such curiosity often leads them to areas where they shouldn’t be in the first place. They may venture outside and larger more stubborn particles can get inside their auditory canals. And while, as we’ve said, there’s a mechanism to expel these foreign bodies, sometimes it simply isn’t enough or the debris is simply larger or more stubborn than what the built-in cleaning mechanism can handle.
In such cases, it is always a good idea to clean your cat’s ears. The good news is that the unique anatomy of these feline auditory organs makes it quite easy to clean as the ears are shorter and provide a better view of the inside compared to other pets like dogs. However, there are certain breeds of cats where the ear canal may be filled with hairs which can make cleaning exceptionally challenging. If such is the case with your pet you may want to have a groomer or a vet to take care of your cat’s ears.
Knowing the Anatomy of Your Cat’s Ear
Like all mammals, the cat’s ear is actually divided into three sections, each serving a very specific function. The outermost section or outer ear is what gathers sound waves from the environment. You can say this is the part that collects sensory information from the outside world. These bits of information have to pass through the second section – the middle ear – which serves as a bridge with the third section, the inner ear. The middle ear converts the sound waves into vibrations and transmits these to the inner ear. The inner ear, for its part, converts these vibrations into electrical signals to be sent to that part of the brain responsible for coding such messages.
The hearing acuity of cats, or any other animal for that matter, is actually dependent on the patency of the collecting surfaces of the outer ear. If this is filled with debris or particles that can block the passageway, then the sound may not be transmitted at all. Of course, problems in the middle and inner sections of the ear will also cause hearing impairments. However, given that no one can really ‘clean’ the middle and inner ear structures, the best that we can do is to keep the outer ear clean or open and free from any particles.
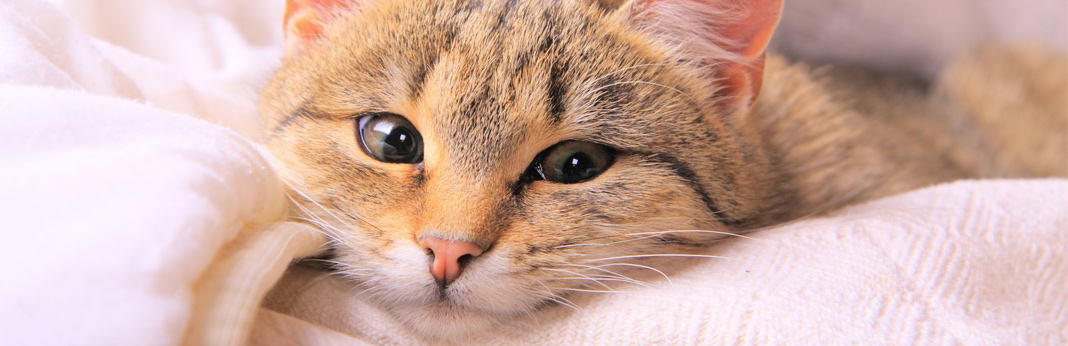
The outer ear of cats is composed of the pinna, that flap of skin protruding from the top side of its head. Hair grows on the outer surface of the pinna while its inner surface will often come with very fine, almost invisible hairs. Do not shave these as the very tiny hairs serve to trap dirt and dust present in the air so that they won’t go inside the ear canal. The inner surface of the pinna should be light pink in color and without any signs of lesions or any abnormality. If there is redness, foul odor emanating from inside, signs of discharge, or even swelling in your cat’s pinna or its inner surfaces, you should bring your pet to the vet for a more comprehensive examination.
Other things you need to be on the lookout for includes a patchy baldness on the outer surface of the pinna, excessive dryness or scaling of the skin of the ears, presence of dark-colored non-dirt particles, and excessive buildup of earwax. These can signal a host of issues for your cat.

Some Things You Should Do Before Cleaning Your Feline Friend’s Ears
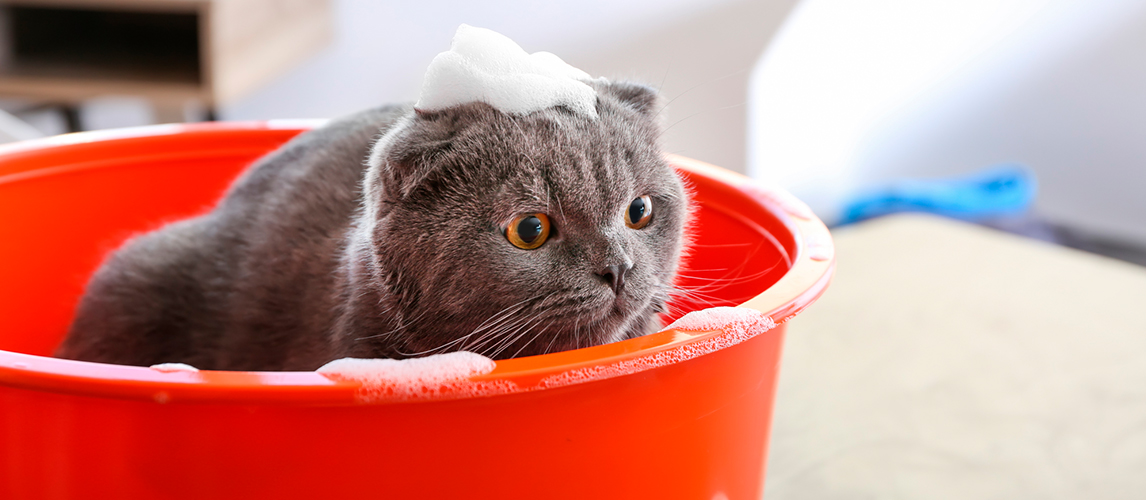
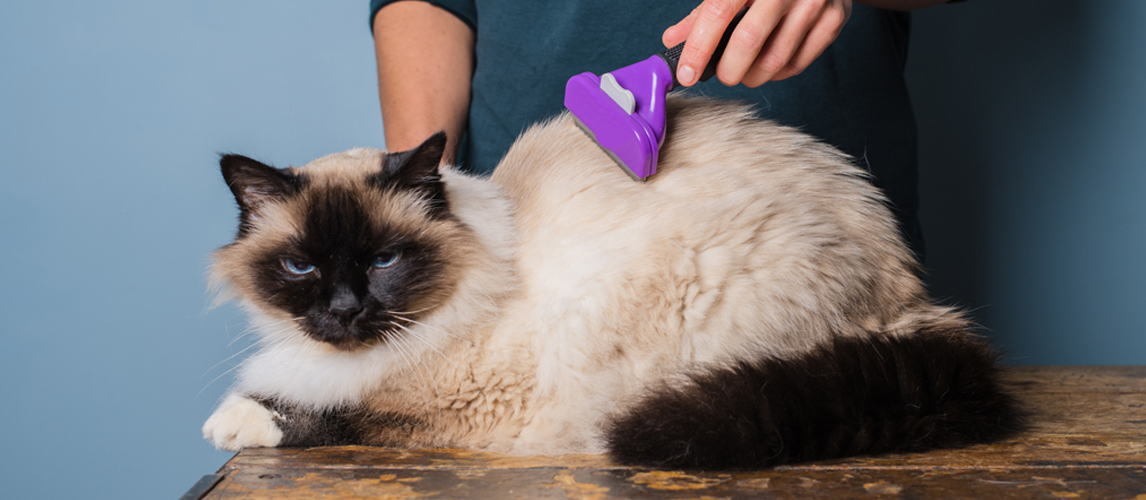
Cleaning your cat’s ears should be fairly straightforward. Unfortunately, some cats don’t really like having someone tinker with their ears. This is especially true among highly anxious cats or kitties from shelters that may have had a traumatic experience being ear-cleaned. Adult cats that may have never been accustomed to the feeling of their ears being cleaned can also get jumpy, retracting their claws, and digging them into your skin. As such, care should be taken to make the cat as comfortable and relaxed as possible.
Before you proceed to clean your cat’s ears, it is imperative that you gather all of your cleaning materials so you can accomplish the task in no time. The faster you can clean your cat’s ears, the better it is for your kitty from getting overly anxious.
It is also important to prepare an area in your house where you will clean your kitty’s ears. It should be enclosed and secured to help prevent your cat from escaping. It is also wise to clean your cat’s ears away from other pets if you have any sense, they can be distracting for your cat. A quiet and peaceful environment also helps.
You may also want to employ an extra pair of hands to help hold your cat while at the same time soothing it and giving it reassurances. Cat experts recommend wrapping your cat in a comfy blanket or towel to help keep your cat still.
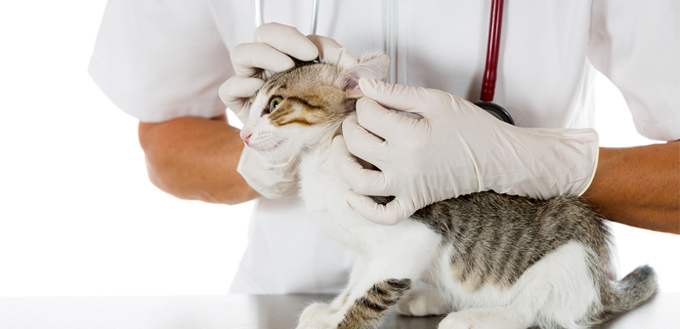
By the time your cat is already on the ‘cleaning table’, you can start by looking at its ears. Gently run the pads of your fingers throughout the outer and inner surfaces of the pinna, feeling for any lumps or any sign of lesion. You can also help calm down your cat this way, more like massaging its ears. Take note of areas with signs of abrasion or even swelling. When you start to clean your cat’s ears, be gentle when working on these areas as they can be especially tender or painful when touched. Take note of any foul odor coming from the inside of your cat’s ears. You may want to ‘sniff’ the pinna a lot closer, though.
How You Should Clean Your Cat’s Ears
It usually takes practice to perfect the art of cleaning a cat’s ears. The good thing is that it is a very simple process. As long as you adhere to this 3-step procedure to cleaning your kitty’s ears, you should do just fine.
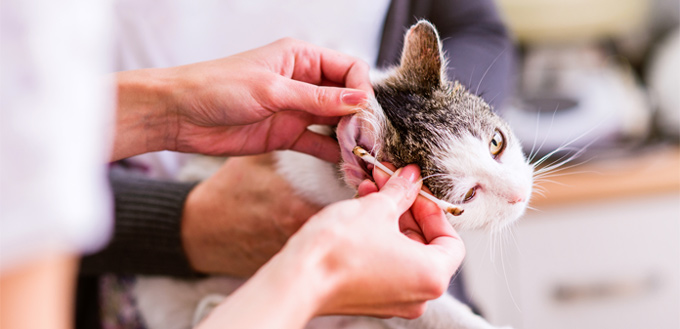
First, gently pull back on the pinna of your cat’s ears. Gently pour an approved cleaning solution into your cat’s ear canal. The idea here is for you to straighten the auditory canal and make it a lot easier to introduce an ear cleaning solution into the canal. There are different ear cleaning solutions for cats available in the market. Just make sure to get one that is designed specifically for cats and that your vet actually knows about it, too. There are also home remedies for those who prefer more practical yet equally safe cleaning solutions.
Second, massage the base of your cat’s ear – usually at the junction between its ear and its head – for about 5 to 10 seconds. The base of the outer ear approximates the location of the ear cleaning solution that you introduced. Massaging it gives the cleaner the ability to work its wonder on the inner surfaces of the cat’s ear. The 10-second limit should be enough to clean your cat’s ears without causing due discomfort to your pet.
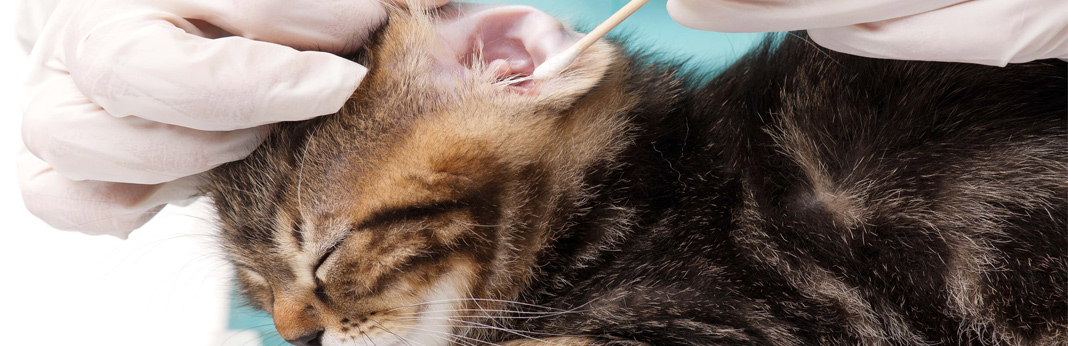
Third, let your cat shake its head vigorously in an attempt to get rid of the cleaning solution. Before you let go of your cat’s head, however, you may want to close your eyes and mouth so that the cleaning solution won’t get into your membranes. Now, get a piece of gauze and wrap it around your finger. Insert your gauze-wrapped finger into your cat’s ears as far into its auditory canal as possible. Don’t worry as your finger won’t go that far as to hit the tympanic membrane or eardrum unless you have a finger the width of a cotton bud.
That’s the 3-step process of cleaning your cat’s ear. Now do the same in the other ear. If done correctly, you can easily clean your feline friend’s ears in under a minute. Keep in mind that the longer you put your cat in a helpless situation (remember it’s being held down against its wishes) the more anxious it can get. So be precise and be quick.
What to Use for Cleaning Your Cat’s Ears
Aside from commercially-available cat ear cleaning solutions, you may want to go for really inexpensive, readily available cleaning solutions at home. Currently, there are three effective, inexpensive, and very accessible cleaning solutions for your cat.
Using distilled water or even purified water works the best; just make it sure to warm it first. Cold water can startle your cat while also contracting the skin tissues inside its ears. Hot water can burn your kitty which can make the experience very traumatic. Warming the water to just the right temperature should help make your cat feel more comfortable during the cleaning.
Olive oil or even extra virgin coconut oil also work. The beauty of these cleaning solutions is that they provide a host of other benefits that ordinary water cannot. For example, coconut oil is known for its antimicrobial properties while olive oil is best known for its antioxidant characteristics. Both oils can also help replenish the natural oils in the cat’s ears. However, it is critical that the excess oil is thoroughly removed as this can become a magnet for dirt and other particles.
Hydrogen peroxide is the third cleaning solution you can use. It’s more like water but with an additional oxygen molecule. This additional oxygen molecule is what initiates a variety of chemical reactions that can neutralize microorganisms and other particles that may be present in your cat’s ears. This is the reason why it effervesces once it gets in contact with a reactive substance. It’s also one of the best indicators that it is working.
If there is one thing you should never use in cleaning your feline’s ears, that would be cotton buds or Q-tips. These are very small that they can damage the cat’s eardrum if you lose control of its entry. However, you can still use Q-tips to clean only the visible folds of the pinna, but never into the ear canal.
Related Post: Best Cat Ear Cleaner
How Often You Should Clean Your Kitty’s Ears
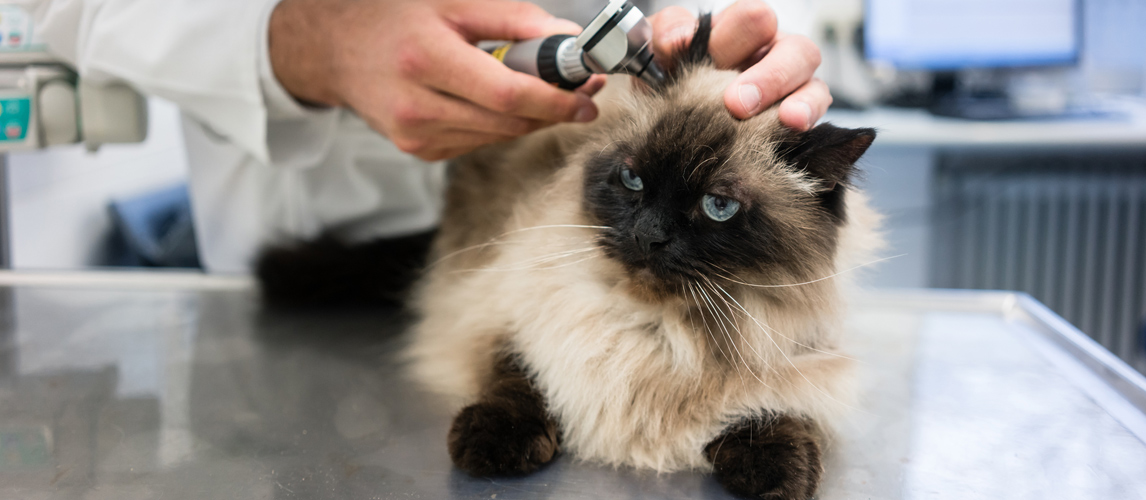
There are no hard and fast rules when it comes to the frequency of cleaning your kitty’s ears. In all likelihood, your cat may not actually need deep ear cleaning. However, a monthly inspection of your cat’s ears is a must just to make sure there are no abnormalities present. If ever there are problems observed, your vet can perform a more thorough evaluation. If your cat has had ear inflammation or otitis, it is often necessary to clean its ears on a weekly basis especially right after the resolution of the inflammation.
Not all pet parents believe that they need to clean their cat’s ears for the simple fact that kitties are already fastidious enough in their grooming. However, even the ever-independent cat will also require our help in certain circumstances. It’s always best to come prepared so the next time you notice something’s off in your cat’s ears, you’re more than capable of giving it a good cleaning.
Sources:
- Amy Panning, DVM, Instructions for Ear Cleaning in Cats, VCA Hospitals
- Elizabeth Xu, How to Clean a Cat’s Ears, PetMD
- Nicholas DeMarino, A Cat’s Dirty Ears & Q-Tips for Ear Mites, The Nest
Note: The advice provided in this post is intended for informational purposes and does not constitute medical advice regarding pets. For an accurate diagnosis of your pet's condition, please make an appointment with your vet.